Tuesday, October 15, 2013

Effie Trinket: Catching Fire Capitol Portrait


Like many of the costumes I make for myself, something just has to click.  As soon as the Capitol Portraits were revealed I knew I wanted this frilly pink confection, and that it would inevitably be a ton of work.  Lots of yardage.  Lots of fabricating.  Lots of hot pink.  Let's do this.
I'm not going to lie, this was intimidating.  At least with some of my other more ambitious projects I give myself time to work up the guts to make it, or to save up or to find the perfect materials (at least for my budget).  But I gave myself only a few months, since I wanted it completed by Dragon*Con 2013.  Here is the breakdown:
Pattern:  I used the Simplicity poodle skirt pattern for the top and bottom.  The hem was shortened by several inches on bottom, and for the top, I cut out a wedge so that it wouldn't be so full....like cutting a large piece of pie. 
Notes: In order to get the top part--the upside-down cone---to stand, I made a boned bustier to go under (Simplicity pattern) so that the top could be pinned to it.  The actual circle...how the top would look if laid flat on the floor...had to be boned as well.  This part is hard to explain, so I'll edit this post later.  I may have some in-progress pictures that will help as well.
Fabrics:  For budget's sake, I used bright pink satin from Joanne's and the corresponding chiffon.  I cannot remember how many yards I actually bought, I kept running out so it was hard to keep up.  I measured 3-4" at the fold of the chiffon, clipped the marking with scissors, and ripped.  And ripped some more...altogether, there is more than 300 yards of ripped chiffon strips sewn into the skirt and top.  I had to start at the bottom and work up...sew on a strip of chiffon, ruffling as I curve it around.  When that row is finished, I would sew the next row less than one inch from the stitch line of the previous ruffle.  Keeping the ruffles close makes them stand out more.
 
 
Think of the bottom skirt as a layer cake.  The skirt is 3 layers thick, the bottom layer being the longest.  Ruffles have to be sewn onto all 3 layers.  It takes a while.  I also added a strip of red at the hem of each layer.
 
The Jewelry:  Effie's jewelry isn't very visible in the portrait, but pictures released later show her jewelry and gloves very well.


My earrings and necklace are made from some leftover wonderflex I had spared, which I painted silver.  My knuckle-armor rings were outsourced...ebay!
The gloves were tons of fun.  I found some cheap elbow-length hot pink lace gloves on ebay.  I cut them down to wrist length, used the spare lace to make a ruffle, then beaded them.  The purple ruffle was made using grosgrain ribbon, but only after watching some video tutorial on Elizabethan ruff making.  I may remake them one day, but for a first shot, I'm pretty happy with how they turned out.
The belt is made of a piece of silver vinyl you get cut by the yard, and the buckle is made from wonderflex.  I was able to get the rounded look by forming the soft wonderflex around the top of a domed sippy cup;)


The shoes:  I found these knock-off McQueens on one of those websites that sells crazy knockoff shoes.  To fluff them up, I cut out thousands of little circles of chiffon and tulle (layered of course!), folded them into quarters, sewed them together, then glued them to the shoe.  I originally made a cover to sew them on to, but it looked horrible when I put it on the shoe, so I just decided to stick them directly to the shoe.  Much better.
My Version:

The Originals:


The wig:  I bought a "chaperone" wig from ebay, which was not horrible considering it was cheap.  But I could not achieve the 'baby bangs' look from the pics.  I was able to spray it pink and style it.  It's ok.


The Lashes: These are fun...the little laser-cut paper lashes in the shape of little birds.  Ebay, of course.  They are reasonably accurate to the pictures, but I did cut them up and apply each bird individually, because they were way too long and thick to go across my lashline.

Here is the dress so far, as I wore it to D*C:


Me and the Sams as the Catching Fire: Capitol Portrait Group

 
Still to be done!!!!!: I am currently working on the gunmetal silver cuffs which are visible in the portrait, but difficult to make out.  They look much clearer here:
 
I also need to add some red ruffles into the top half and work with the wig more. 
 
Update....a few pics from Wizard World ComicCon Nashville:


Wednesday, September 19, 2012

Legend: Dark Lilly

   Well, I've been plotting this costume for YEARS...I remember this movie from when I was little, and how beautiful it was.  Unicorns, fairies, a princess, a forest-boy, a dark lord, gorgeous settings...what's not to love there?  This dress, though, required some strategy, in more ways than one.
   I used no patterns....that's right, I had to start from scratch for this one.  The 'base' is the bodysuit, which I made using a textured spandex (more April Johnston fabric---I love it!).  It's basically a sleeveless pull-on bodysuit with elastic around the legs to prevent ride-up.  I had to take it in across the shoulders, as it wanted to pucker and not rest across the back.  This part has to be pretty stable, as everything attaches to it.
   Watching the movie, you never get a terribly fantastic view of the dress.  I watched it on the dark dancer, and took many screengrabs.  I did the same when Lilly wore it, and it seems the shoulders have a different silhouette.  Maybe there were 2 dresses made, with little differences.  Who knows?  So I went with the silhouette on the dancer. 
   The shoulderpads are made from 2 layers of thick fun foam sandwiching a stem of steel hoop boning that I cut off to about 14".  It is bent so that it curves upward off the shoulder.  To attach them to the bodysuit, I used wide industrial strength black velcro.Then, to keep them from working off the shoulders (they can be heavy), I strung thin black elastic between them in the back (the elastic criss-crosses across my back just below the neck, and isn't noticable once the collar is on).  That did the trick.
   The collar is 2 layers of thick funfoam reinforced with wooden dowels.  I covered it all in a shimmer black chiffon, then trimmed it out in sequin trim.  A lond wooden dowel runs down the center and extends about 8 inches down the back, keeping it stable.  The front of the collar is part of it, and attaches to the neckline of the bodysuit with the same elastic.  This keeps the neckline very sturdy (I used garment tape anyway, of course, to prevent wardrobe malfunctions). 


The drapes and skirt are made from an assortment of black silk charmeuse (dyed), black lace, black chiffon, and black sequined chiffon.  It is distressed at the edges, and I even burned holes in the chiffon to create a creepy vibe (I did this very carefully!).  The skirt is gored and quite full, with a drape added which attaches to my arm with a clear elastic band that is sewn in.  The wing-drapes, which fall off the shoulder structure is distressed in the same manner, and attaches to my fingers in the same way the skirt attaches to my arms.  Movement in the dress, then, tends to look elegant and flowy, as it does in the film.


The jeweled sash looks quite beautiful in the film, and is the only part of my version I would like to re-do.  I made mine with silver spandex (dancewear) and covered it in acrylic gems of various shapes.  The top is a ruffled rosette made of the same fabric, and I strung rhinestone strands from it.
 
I actually used chicken wire to make the headpiece, shaping it the way I needed in order for it to wear well and look reasonably accurate.
 
This gown was not terribly uncomfortable to wear, but did chafe my neck a little.  I was very cautious of the neckline, but it all held together well.  I actually edited it a bit, as it should plunge a bit lower.  I also made the collar a little smaller so that I could get through doors and elevators with no problem.
                
photos by David Skirmont
 
Created: Summer of '12
Events: Dragon*Con '12
Awards: Runner-Up: Craftsmanship, Dragon After Dark
               Finalist for Best in Show, Dragon After Dark


Scottish Punk Gown?

   This gown was tons of fun to make...I must have went through a dozen ideas for collars, silhouettes, and accessories before deciding on what you see here.  I wanted to do a gown for sure, but with some punk influences from the '80s....fingerless lace gloves, spikes, plaid, safety pins, etc.  It also needed to be a bit risque, or at least risque to me;)
   I used the Simplicity Elizabeth Swann pattern for most of the gown, modifying the sleeves, neckline, and stomacher  It needed to look a little disheveled, so the sleeves don't exactly match. The fabric is black satin from the stash, and several yards of plaid (it is the April Johnston/Project Runway fabric that has sadly been discontinued, I think).  What was the most fun, I think, is making the big gathered poofy train.  The plaid is pleated and sewn in on one side, then left to drape.  So I put her on the dressform with a hoop and started gathering wherever I thought it would look good.  I used hundreds of safety pins to keep the gathers in place, like little accessories themselves.  The underskirt ties around the waist and has 2 layers of blue ruffles.  I put the remainder of the plaid on one side for a little asymmetry. 
   To be 'punkier,' I kept the front open.  Originally, I had planned to wear black fishnet tights, but made myself a pair of black shimmery leggings then cut them off super short.  The boots are above the knee platforms which are intended to be altered for my TRON:  Quorra costume (still in progress).  To me, the cooooolest part is the spikes.  I ordered spikes from etsy (some are metal, some are acrylic) and applied them all over one shoulder.  I also use them on the fascinator, along with plaid ruffles and a large pheasant plume.  My hair is mostly my own, except for a few blue clip-in extensions and some synthetic hair wrapped around a styrofoam ball and pinned to the top of my head.
  This costume was so much fun to wear!!  All the fabric came from my stash, and with the exception of the hair, styrofoam, and spikes, nothing had to be purchased.  It received a great deal of positive feedback as well.
  I really don't know what to call this one....80's Scottish Punk maybe?                                                                                          photos by David Skirmont
 
In the photo on the left, I am wearing huge (and heavy) false-hip-pads. On the right, I left them out. Versatile!
 
 
Created: Summer 2012
 
Debuted: Dragon*Con '12

Friday, July 20, 2012

Black Swan Costume

This costume was put on the back burner for such a long time.  But I felt I had to finish, if for no other reason, than to stash it in my etsy shop.  This is not an actuall tutu that a dancer would wear onstage--I created this as a costume, and wears quite like any little black dress (but you can still dance in it:).  It's two parts:  bodice and skirt.  They are both embellished with distressed tulle, coq feather trim, black and crystal gems, black trim, and more black tulle than I can keep up with.  The top layer of the skirt is black organza, and I put a sprinkling of gems on the left of the skirt like the film version.  I had to make this one long enough to cover my rear...but, I do have a 'pancake' style underskirt that can be worn underneath to raise the skirt and flatten it all out.
For the shoot I left my pink leather ballet slippers at home and opted for dressy combat boots.  This is a fun costume to make...any costume that involved feathers and gems is a sure winner!

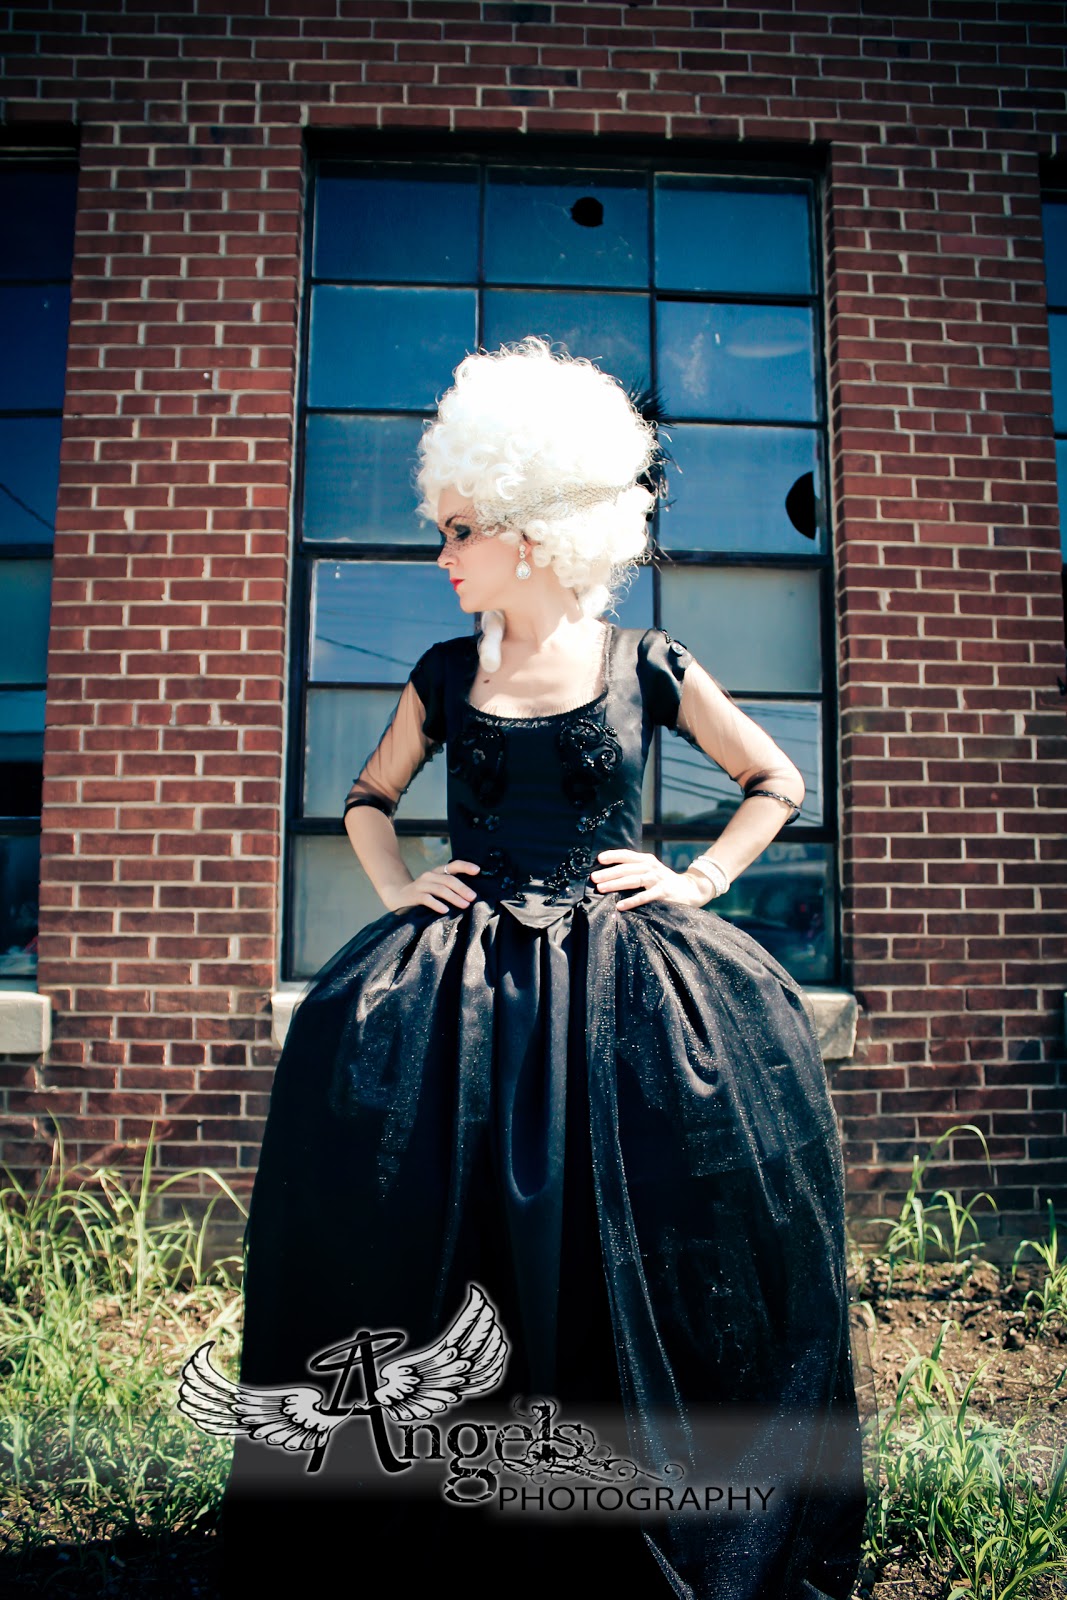
Marie Antoinette's Black Masquerade Gown

Another costume based on the fantastic 'Marie Antoinette!'  I want to make all of them, of course, but one at a time; one at a time.....
I really love the black shimmery ballgown she wears to the Parisian Masked Ball.  It's so different---aside from her mourning gowns, it's the only time we see her in a dark color.  Plus, you gotta love a black dress;)  So I used my trusty Simplicity pattern, made the neccessary modifications, and concocted my version of the gown.  I had to be creative with the beaded embellishment on the bodice.  Luckily, I have a vintage silk beaded blouse that I wanted to use for parts, and the heavy beadwork was ripe for picking.  I cut symmetrical sections of the beadwork out and hand-stitiched them to the stomacher and sleeve caps.  The sleeves themselves are made of tulle, which make the dress sooooo much more comfy to move in (the tight curve of the 'normal' sleeve can be a little constrictive), and are trimmed out with some pretty sequined scalloped trim.  There is a black sparkle tulle overlay to the skirt as well.  I cannot wait to wear this one out!  Not too sure about the wig, though.  It really needs some work...looks like a giant cotton ball on my head.  I ended up just pulling it off my head during the shoot!

Lady Gaga: Just Dance Dress

I was stewing on a few Lady Gaga costumes some time ago; I wanted to make one that was wearable and that I could possibly commission, not necessarily for myself.  Since I don't really keep up with her video wardrobe (I have seen some of the highly publicized red carpet costumes), this one nearly slipped by me!  But I came across it online and thought it would be a fun costume to try.
So....I watched the video, then drafted myself a pattern.  It looks like a pretty simple but very cute batwing dress in a pseudo-zebra style print.  The collar is made with what looks like a black and white leopard print.  I actually found two fabrics that will work.  One (the one in the photos) looks more 'zebra' than the other.  As for the black/white leopard print...after some searcing, I found a similar fabric.  The collar stands pretty well in the video, so I added an extra layer to it and reinforced it with interfacing. 
It's actually very wearable--you can adjust the length by a few inches and move freely in it, which is more than I can say for a lot of costumes I've worn:).  I'll hopefully be putting this one in my etsy shop very soon!

Sunday, January 29, 2012

Black Swan Tiara

I've had my own Black Swan costume on the back burner for several months now, and while I am working on a version to sell in my etsy shop, I thought that it would be a good idea to tinker with the tiara and bun topper.  After playing around with different types of clay, I finally found one that I was comfortable with.  So then I just did a couple of trial-and-error runs, shaping wire bases to see which one I like the best, then forming the clay over the bases (I am no clay expert, but it is fun!). 
After it dries, I filled in any problem areas with more clay and let it dry.  When it started to look the way I wanted, I was finally able to paint it, first with metallic pewter spray, then highlights by hand with acrylic in black, silver and graphite.  It's hard to see the highlights in the pictures.
My favorite part...the rhinestones!  I found some vintage Czech glass rhinestones on ebay, the only problem was, it's virtually impossible to find settings to fit them.  Oh, well, I was still able to attach them to the tiara no problems.
The posting:  http://www.etsy.com/listing/91765039/black-swan-tiaramade-to-order